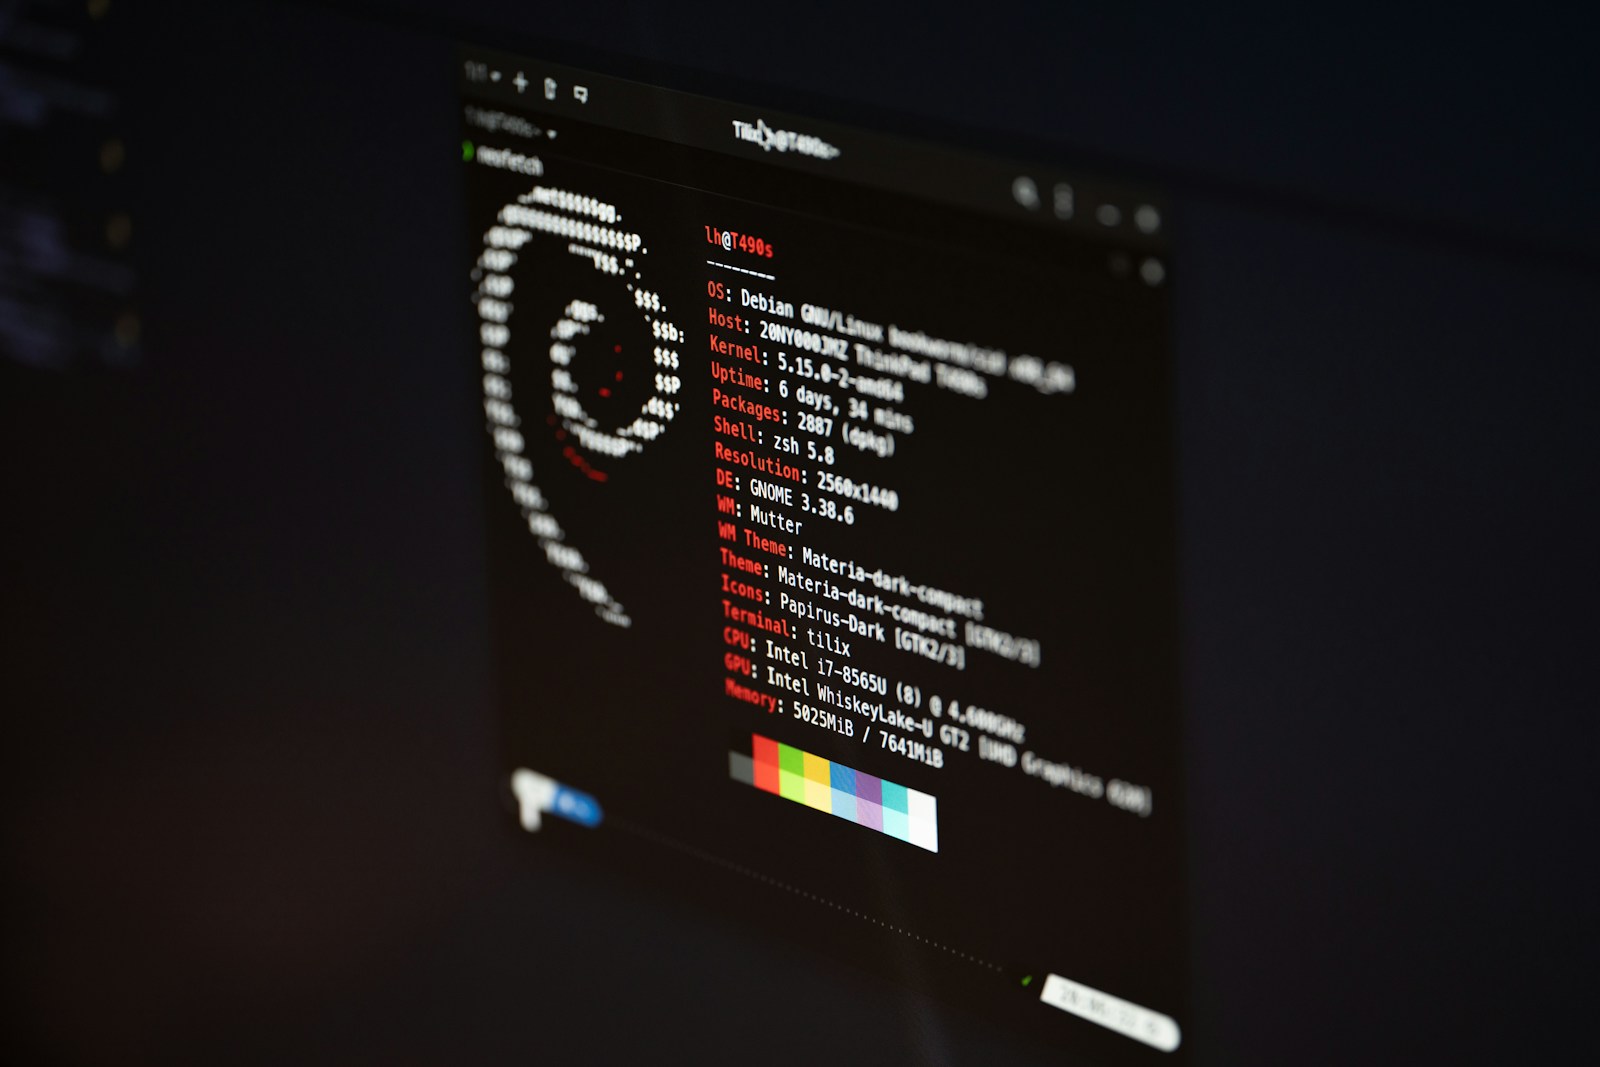
With the Windows Subsystem for Linux (WSL), you can enjoy the power of Linux on your Windows 11 system. This guide will walk you through setting up WSL, running Debian 12, exporting it from a desktop computer, and importing it to a laptop with a custom name as the second Debian 12 instance.
1. Setting Up WSL on Windows 11
Enable WSL on Windows 11, Open PowerShell as Administrator and run:
wsl --install
This command enables WSL, installs the latest Linux kernel, and sets up a default Linux distribution. Restart your computer if prompted.
Install Debian 12, Open the Microsoft Store and search for “Debian”. Click on Debian 12 and install it. Launch Debian 12 and complete the initial setup by creating a username and password.
Verify WSL Installation, Open a PowerShell terminal and run:
wsl --list --verbose
Ensure that Debian 12 appears in the list with the state “Running” or “Stopped”.
2. Exporting Debian 12 from Your Desktop
Open PowerShell as Administrator: Run the following command to export your Debian 12 instance to a .tar file:
wsl --export Debian-12 C:\path\to\backup\debian12.tar
Replace C:\path\to\backup\debian12.tar with your desired file path.
Verify the Export, navigate to the specified path and ensure that the .tar file is present.
Transfer the File to Your Laptop, use a USB drive, network share, or a cloud service to transfer the .tar file to your laptop.
3. Importing Debian 12 to Your Laptop with a Custom Name
Copy the .tar File, place the .tar file in a directory on your laptop, e.g., C:\Users\YourName\Documents\Debian12.tar.
Run the Import Command,, Open PowerShell as Administrator and run:
wsl --import MyCustomDebian C:\WSL\MyCustomDebian C:\Users\YourName\Documents\Debian12.tar
Replace MyCustomDebian with your preferred name and adjust the paths as needed. This will create a new WSL instance named “MyCustomDebian”.
Verify the Import, check if the new instance is imported successfully:
wsl --list --verbose
Ensure “MyCustomDebian” appears in the list.
Run Your Custom Debian Instance: Start the new instance by running:
wsl -d MyCustomDebian
4. Testing and Customizing the Setup
Test Both Instances, If you have another Debian 12 instance on your laptop, ensure they work independently by running each with:
wsl -d <InstanceName>
Set Custom Configuration (optional), Update configuration files specific to the new instance, such as .bashrc or .profile.
FInal Words
By following these steps, you’ve successfully set up WSL on Windows 11, exported Debian 12 from your desktop, and imported it to your laptop with a custom name.
This setup allows you to maintain multiple Linux environments tailored to your needs, making your workflow more flexible and efficient.
