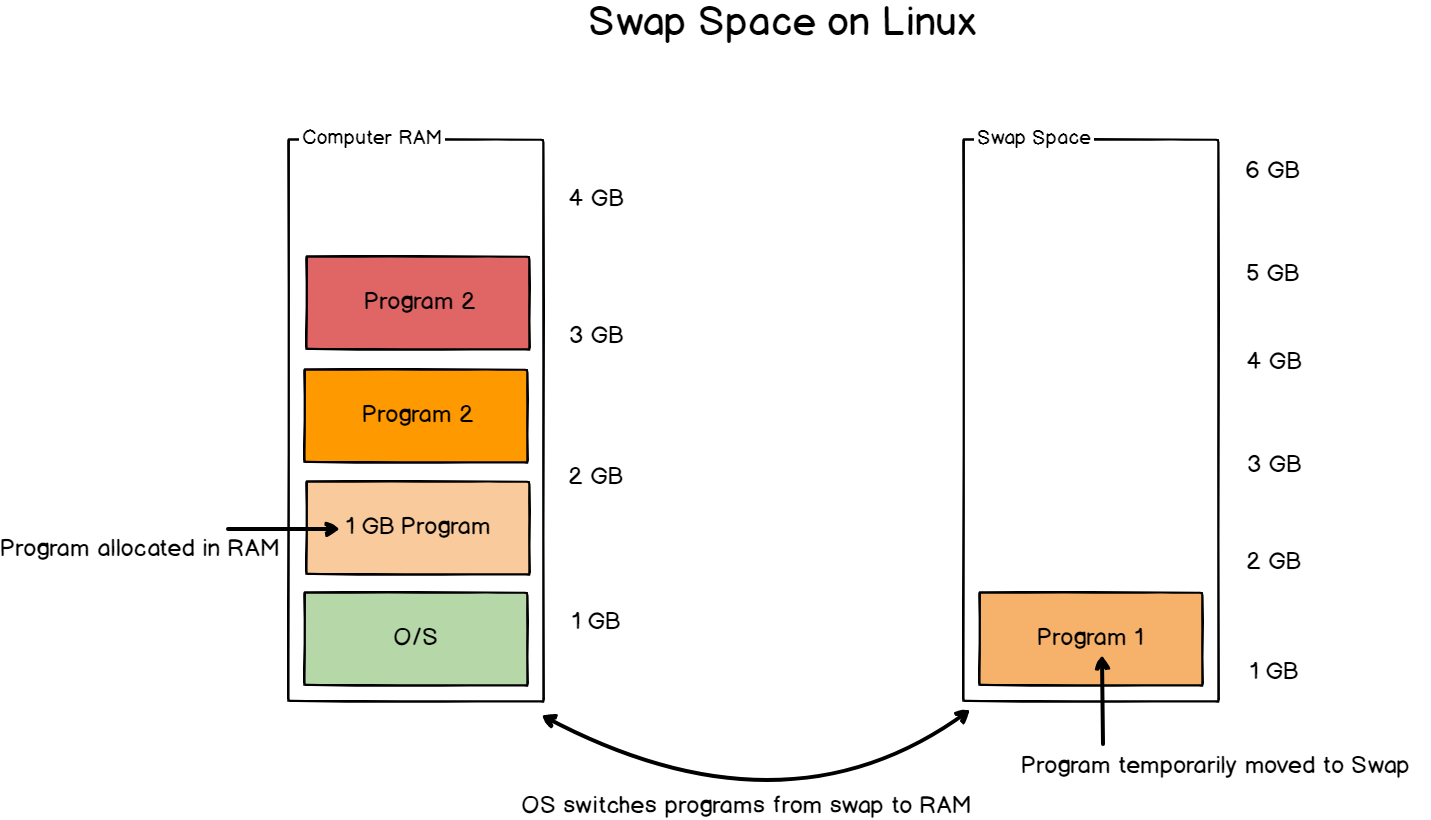
To set up a 4 GB swap file on an Azure Debian 12 virtual machine, follow these steps:
1. Check for Existing Swap
Before creating a new swap file, check if swap space is already enabled:
sudo swapon --showIf nothing is returned, then no swap space is currently active.
2. Create a Swap File
You can create a swap file using the fallocate command:
sudo fallocate -l 4G /swapfileIf fallocate is not available or if you want a more secure way, you can use dd:
sudo dd if=/dev/zero of=/swapfile bs=1M count=4096Code language: JavaScript (javascript)This command creates a 4 GB swap file at /swapfile.
3. Secure the Swap File
Set the correct permissions so that only the root user can read and write to the swap file:
sudo chmod 600 /swapfile4. Set Up the Swap Area
Format the file as swap:
sudo mkswap /swapfile5. Enable the Swap File
Activate the swap file so it can be used immediately:
sudo swapon /swapfileVerify that the swap is active:
sudo swapon --show6. Make the Swap Permanent
To ensure that the swap file is used at boot time, add it to the /etc/fstab file:
echo '/swapfile none swap sw 0 0' | sudo tee -a /etc/fstabCode language: PHP (php)7. Adjust Swap Settings (Optional)
You can adjust the swappiness value, which defines how often the swap is used. The default value is 60. To change it, edit /etc/sysctl.conf:
sudo nano /etc/sysctl.confAdd or change the following line to your preferred swappiness value:
vm.swappiness=10Save and apply the changes:
sudo sysctl -p8. Verify Swap
Finally, check the swap summary to ensure everything is working as expected:
free -hThis will display the available swap and RAM on your system. Your 4 GB swap file should be listed here.
